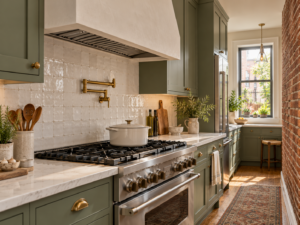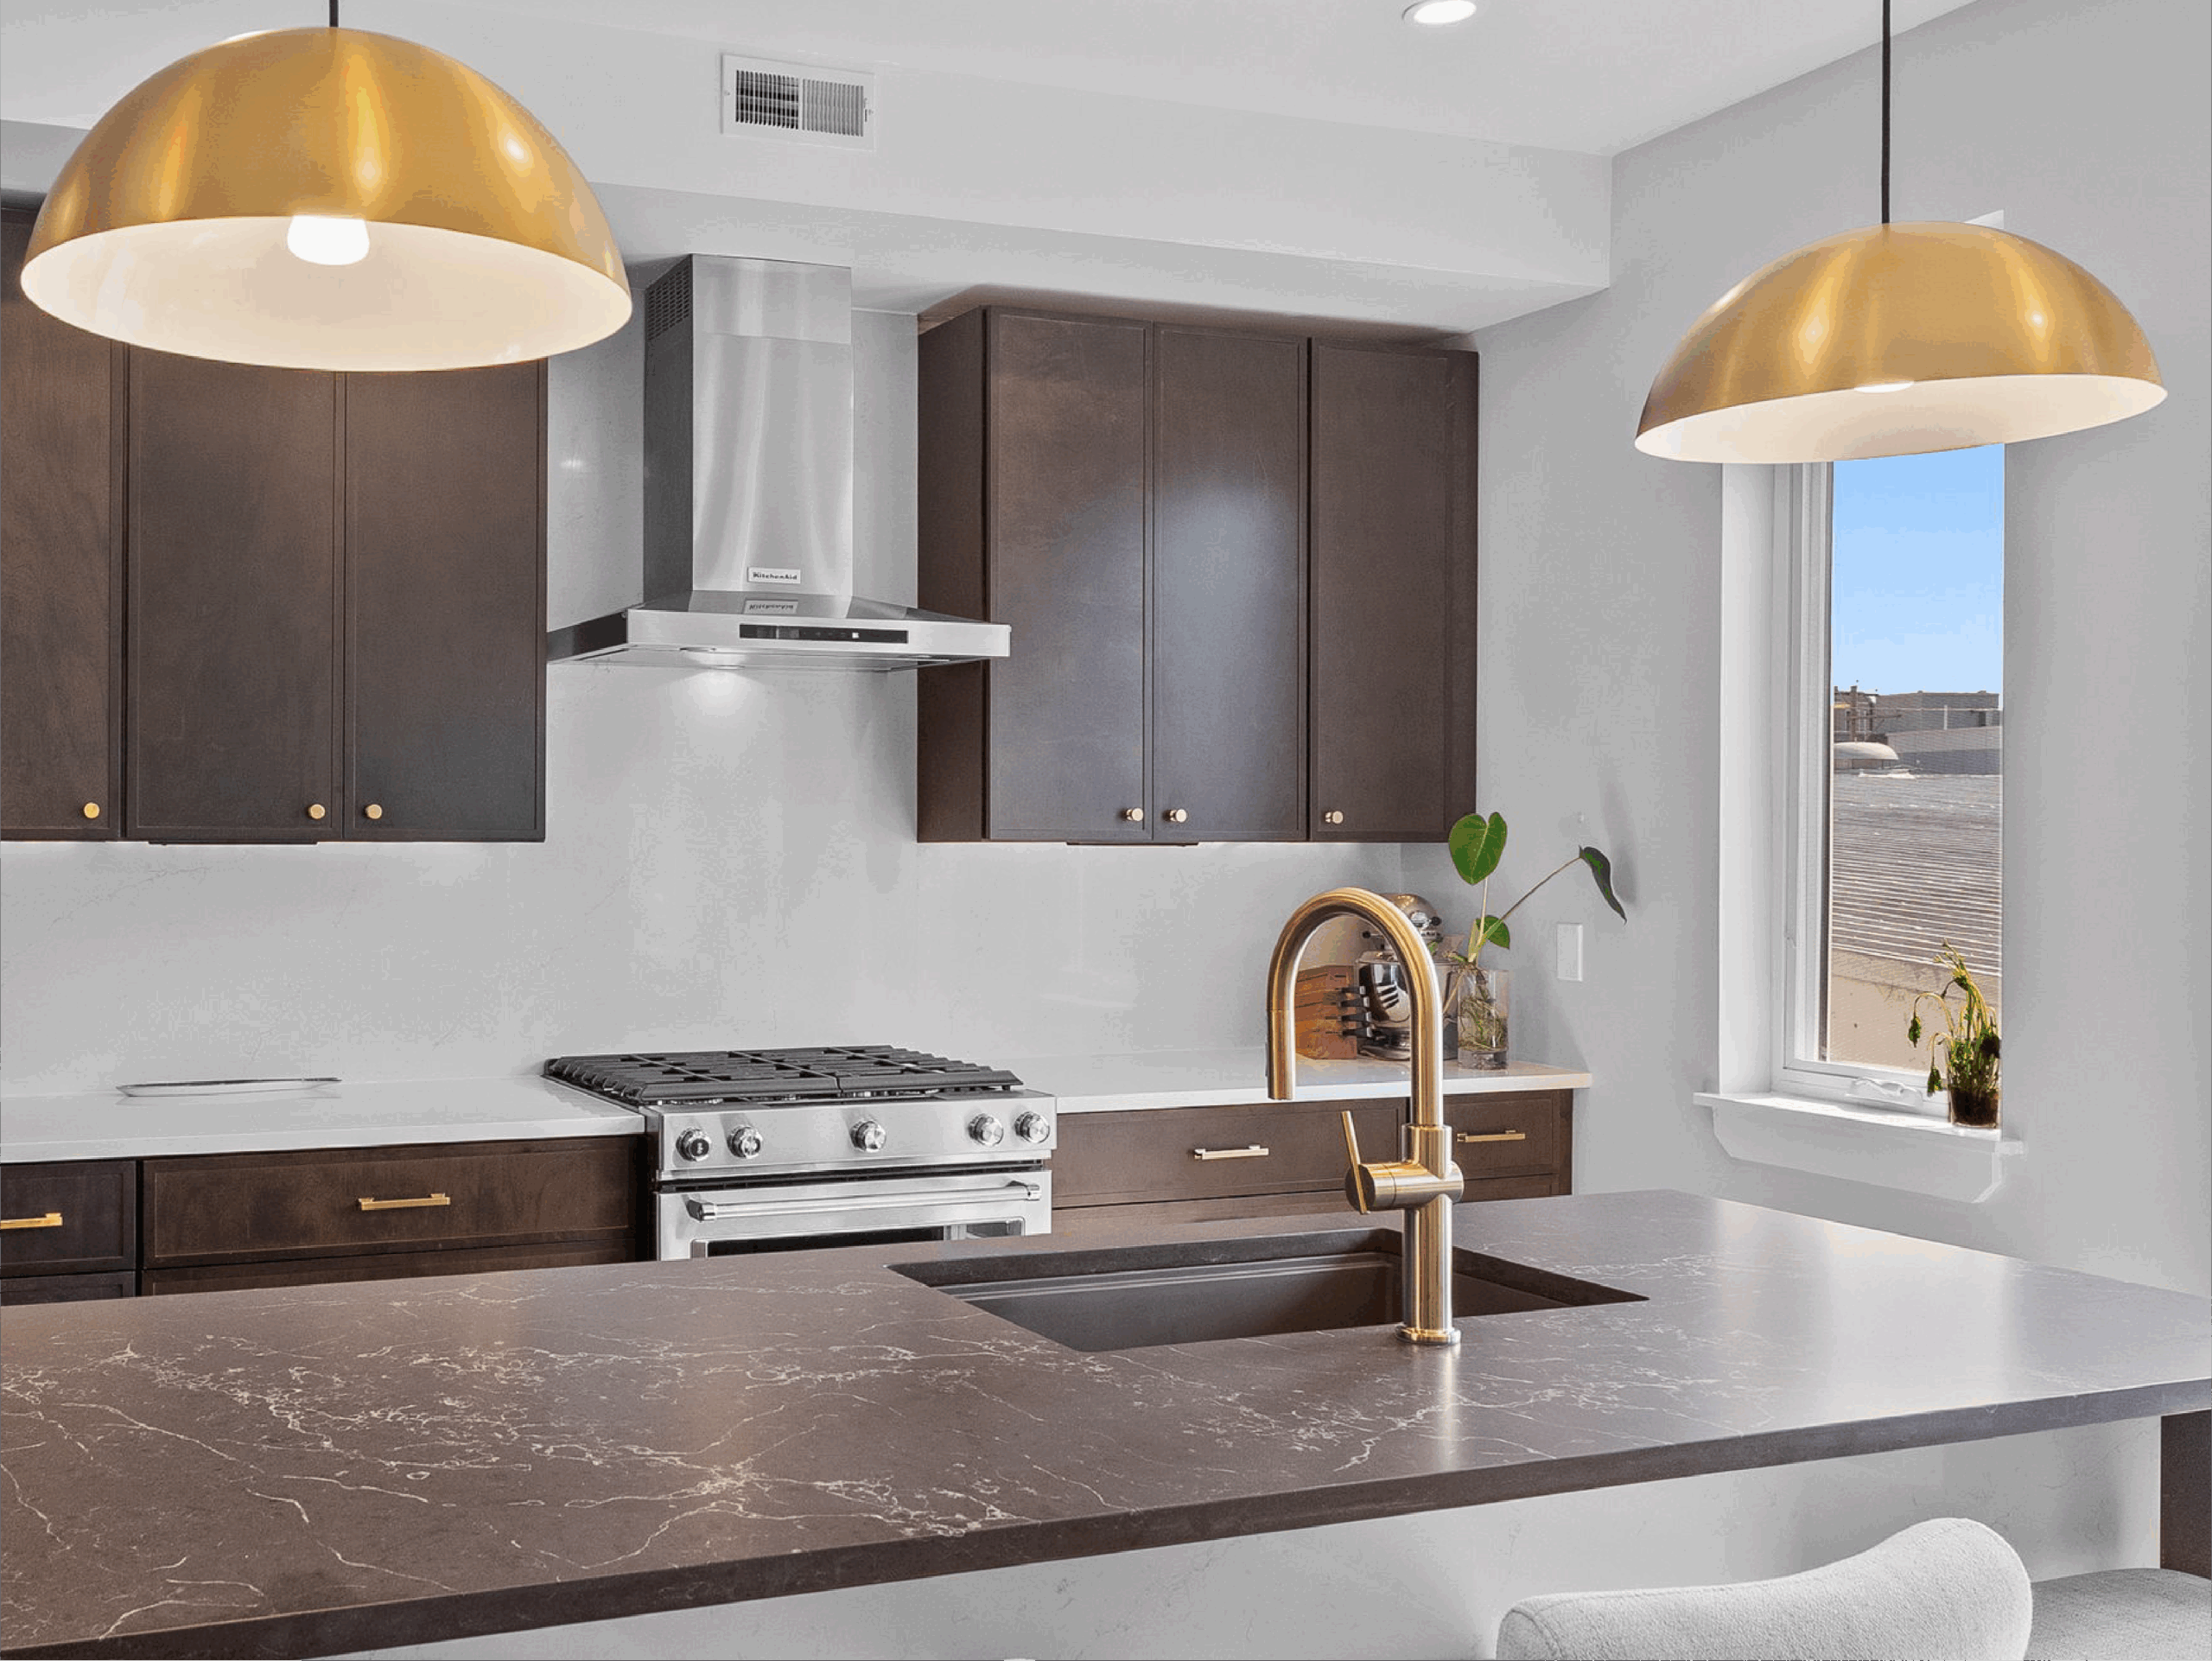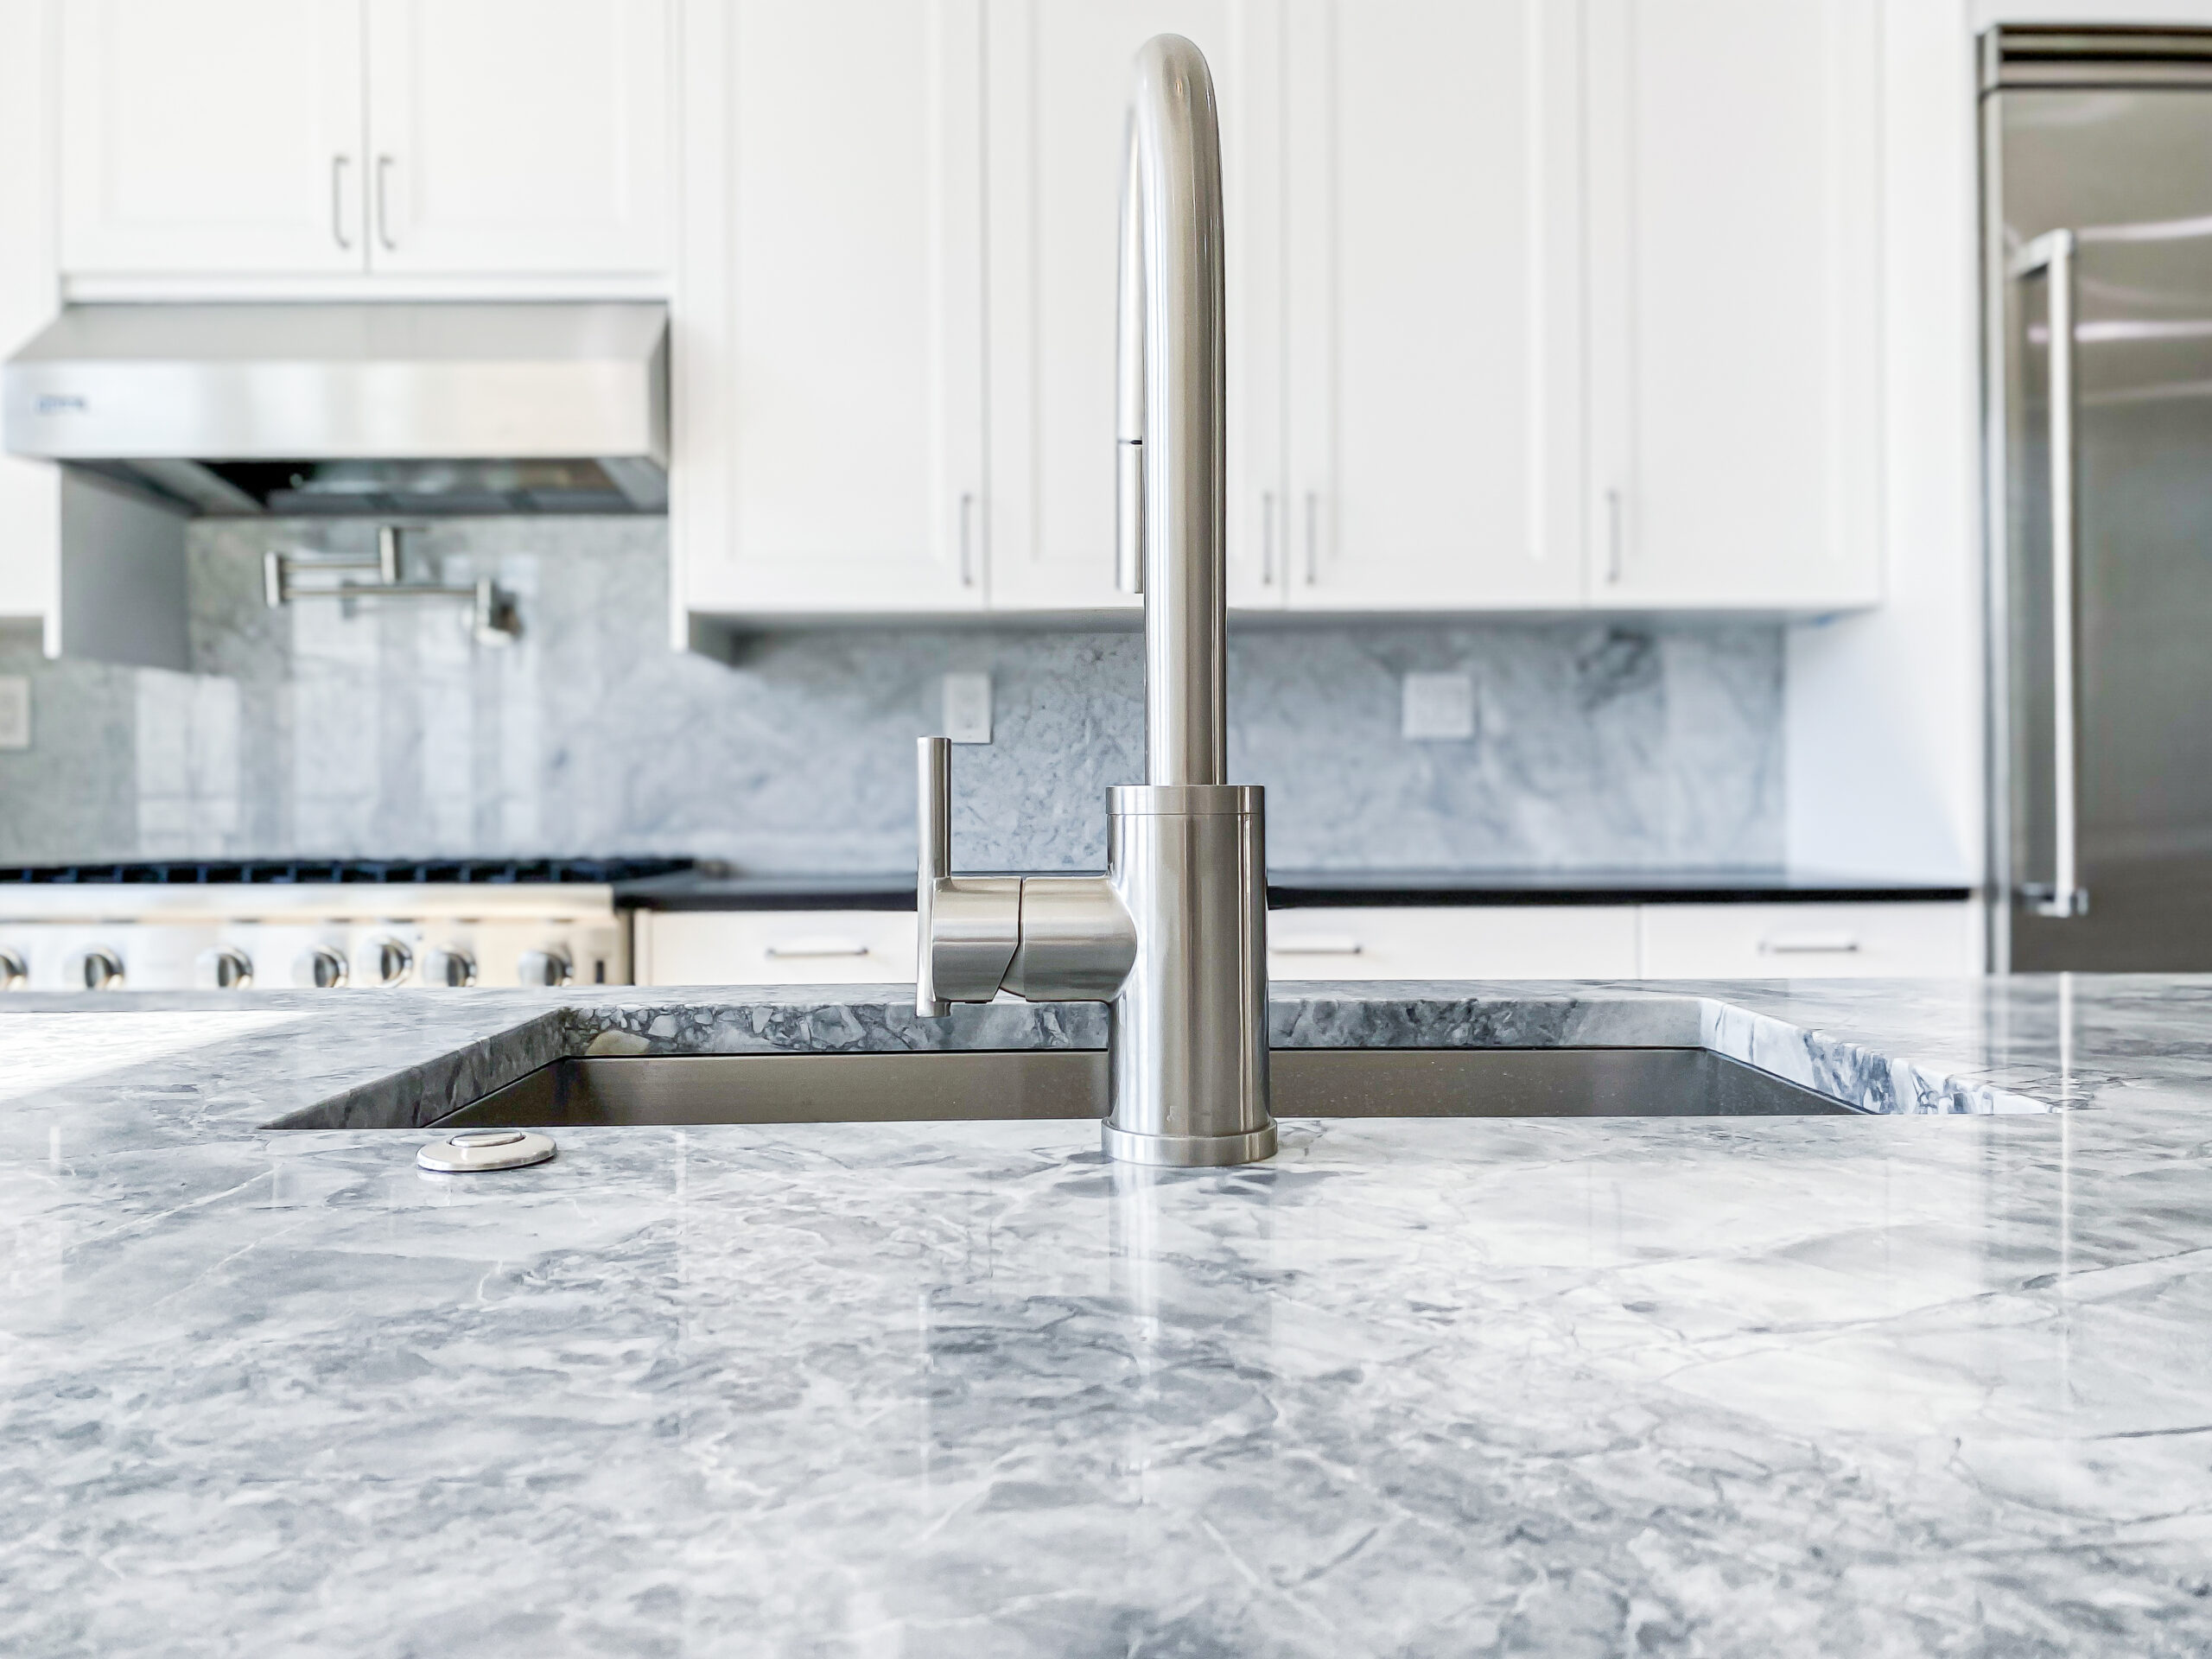
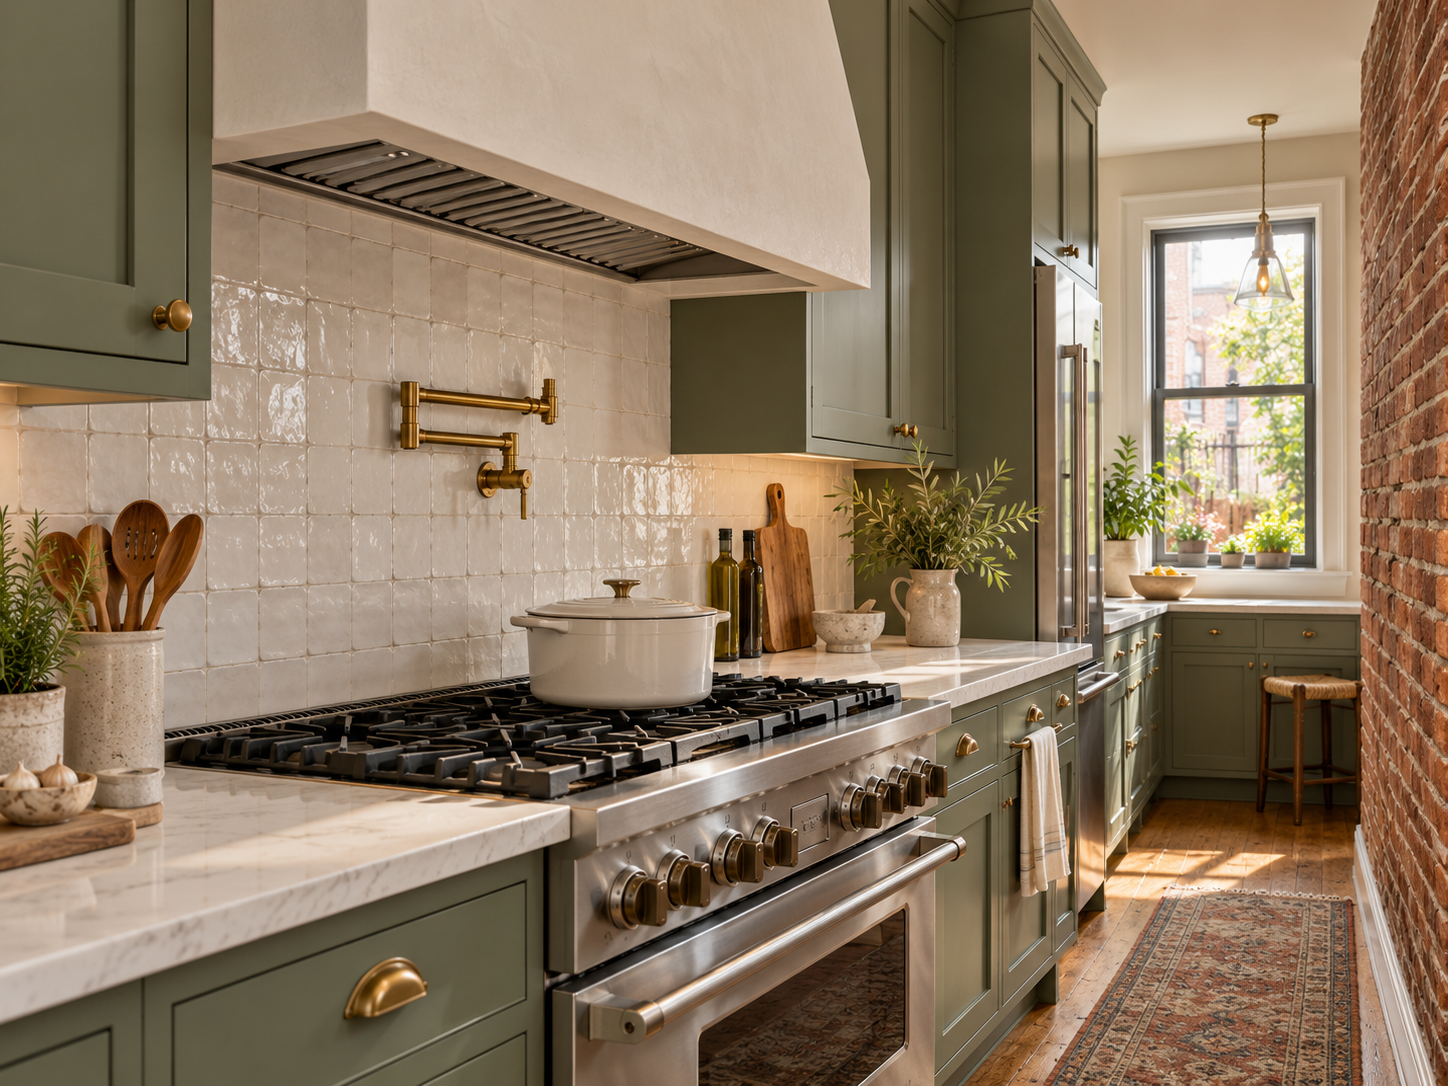
A pot filler is one of those upgrades that sounds like a luxury until you stop carrying a heavy stockpot of water from the sink to the stove every night. In a narrow rowhome kitchen in South Philly, Fishtown, Fairmount or Mount Airy, where the sink and range are often on opposite walls or separated by a peninsula, a folding faucet mounted over the cooktop can make the room genuinely easier to use. The catch is that the faucet itself is the simple part. Getting a pressurized water line to the wall behind the range, in a house with brick party walls, old framing and limited cabinet space, is where most of the planning happens.
This guide covers how water lines are typically routed to a pot filler in an older Philadelphia home, why shutoff access matters, how to think about mounting height and reach, what blocking the wall needs, and why every one of these decisions has to be settled before backsplash tile goes up.
Why the Range Wall Is Tricky in a Rowhome
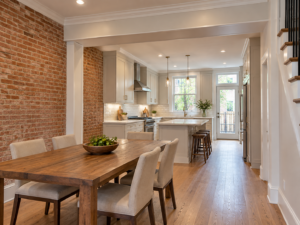
In many Philadelphia rowhomes, the range sits against one of the long side walls of the kitchen. Those walls are frequently the shared masonry party wall with the neighbor’s house. In other layouts, the range ends up on an exterior rear wall or against a wall that hides a chimney flue. Each of these creates a different set of problems for a new water line:
- Party walls are shared structure. Cutting a deep channel into a brick party wall to bury a pipe is generally a poor idea. The wall carries load, it is shared with your neighbor, and old mortar does not always respond well to aggressive chasing.
- Exterior walls invite freezing. A supply line run inside a cold rear wall can freeze during a hard Philadelphia winter, especially if the wall has little or no insulation.
- Chimneys and flues take up space. Old flues and chimney breasts often sit right where a range wants to go, leaving little room for piping.
None of this rules out a pot filler. It means the water route should be designed, not improvised.
Common Ways to Route the Water Line
There is no single correct path, and the right option depends on what the walls and floors reveal once demolition starts. These are the approaches most often considered in rowhome kitchens:
- Fur out the brick wall. Building a thin framed wall in front of the masonry creates a cavity for the supply line, electrical boxes for backsplash outlets, and solid backing for cabinets.
- Come up from the basement. Most rowhomes have a basement under the kitchen. A line can often branch from an existing cold-water supply in the basement ceiling and rise through the floor inside a cabinet base or a framed chase next to the range.
- Branch from the sink wall. If the sink is on an adjacent interior wall, the line may travel through framing or across the floor system to reach the range wall.
- Use a framed chase or adjacent tall cabinet. In tight kitchens, a pantry cabinet or narrow filler next to the range can conceal the riser and provide access to a shutoff.
Most pot fillers are fed with cold water only, which keeps the routing simpler. Whatever path you choose, keep the line out of uninsulated exterior cavities, secure it so it does not rattle, and coordinate it with the range hood duct, electrical runs and any gas line serving the range.
Shutoff Access and Service Planning
A pot filler holds water under pressure inside the wall all day, right above a hot cooktop. If it ever drips, you want to stop the water without shutting off the whole house. That is why shutoff planning deserves its own conversation:
- Locate an accessible stop valve. Common locations include inside an adjacent base cabinet, in the basement ceiling directly below, or behind a small access panel. Ask your plumber where it can go and how you will reach it.
- Check the faucet design. Many pot fillers have shutoff handles at the faucet itself, but those do not replace an accessible supply valve for service.
- Think about future repairs. Choose a faucet with replaceable cartridges and keep its documentation.
Valve placement and access are code-sensitive details, so confirm the specific approach with your licensed plumber and the inspector.
Height, Reach and the Range Hood
The goal is a spout that clears your tallest pot and swings over the burners you actually use, without colliding with the range hood or interfering with the cooktop. A few practical points:
- Start with the manufacturer’s rough-in specs. Pot filler makers publish recommended rough-in heights and arm reach. Use the spec sheet for your exact model rather than a rule of thumb.
- Measure your real cookware. Hold your tallest stockpot on the burner and confirm the folded and extended spout will clear it.
- Check reach to the burners. A two-arm articulating filler should reach the main burners, front and back, without straining.
- Coordinate with the hood. The faucet must fold flat below the hood, and the hood installer needs to know the faucet location before mounting.
Lock in your exact range and hood models before rough-in. A change to a wider range, or a different hood shape, can shift the ideal faucet location.
Wall Blocking and Mounting Support
An articulating pot filler acts like a lever on the wall every time someone pulls the arm out. It needs to be anchored to solid material, not just drywall or cement board. Plan for:
- Solid wood blocking in the framed wall at the faucet location, sized and positioned to the manufacturer’s rough-in instructions.
- A secured supply fitting fastened to that blocking so the pipe connection cannot shift when the arm moves.
- Correct depth to the finished surface. The fitting has to land at the right depth for the combined thickness of backer board, thinset and tile. Thick stone or full-height slab backsplashes change this dimension.
- Photos before closing the wall. Record the blocking, supply line and valve location for future repairs.
If the faucet is going on a masonry wall that is not being furred out, ask your contractor how it will be supported and how the supply will reach it, since this is far more involved than mounting to framing.
Plan It Before Tile and Backsplash
The pot filler location has to be final before the backsplash is designed and installed. Moving it later means cutting into finished tile. Before tile, confirm:
- The faucet model and finish, so the rough-in valve or fitting matches.
- The exact centerline and height, marked on the wall and checked against the range and hood.
- Tile layout around the faucet, so the flange lands in a clean spot rather than on a sliver of tile or a grout joint.
- Outlet and switch locations on the backsplash, so they do not crowd the faucet area.
- A pressure test of the new line before the wall is closed, so leaks are found while everything is still exposed.
If your backsplash is a full-height slab or a feature tile behind the range, the faucet becomes part of the composition. Decide whether it should sit centered on a pattern or offset to one side before the tile is ordered.
Permits and Licensed Plumbing in Philadelphia
Running a new water line to a new fixture is plumbing work, not a faucet swap. According to the City of Philadelphia’s plumbing permit page, a Plumbing Permit is needed for plumbing installation, alteration, replacement and repair, while minor repairs with the same material, such as replacing faucets and valves, are exempt. The same page states that a licensed master plumber must oversee plumbing work and that a separate building permit is required for all renovations. It also notes that some alterations in buildings with four or fewer dwellings, up to four stories high, may qualify for an EZ permit without plans.
What this means for a kitchen remodel:
- Treat the pot filler as new plumbing in your remodel scope, not a simple fixture replacement.
- Work with a licensed master plumber for the supply line and valve.
- Schedule inspections before walls close so tile installers are not waiting.
Requirements and fees change, so confirm current rules with L&I and your contractor before work begins.
Frequently Asked Questions
Is a pot filler worth it in a small rowhome kitchen? It depends on how you cook. If you regularly fill large pots for pasta, stock or canning, and your sink is far from the range, it can save real effort.
Can a pot filler go on a brick party wall? Often yes, but usually by furring out a framed wall in front of the brick rather than cutting deep channels into the masonry. Your contractor should evaluate the wall before deciding.
Do I need hot water to a pot filler? Most pot fillers are designed for cold water only, since you are heating the water on the stove anyway. Check the specifications of your chosen model.
What happens if a pot filler leaks? A dripping faucet usually needs a cartridge or seal replacement. That is why an accessible shutoff valve and a model with available replacement parts matter.
When should I decide on a pot filler during a remodel? During design, before rough-in plumbing. The water line, blocking and valve need to be installed while the wall is open, well before backsplash tile.
If you are planning a kitchen and want a pot filler behind the range, Philly Kitchen & Bath can help you settle the layout, coordinate the plumbing route, blocking and hood placement, and sequence everything before the backsplash goes up. Explore our kitchen remodeling services in Philadelphia and schedule a consultation while your plans are still flexible.